Read on for tips for taking top photos of tennis players.
This is a guest post by @Ballboy2012, who took a lot of the photos that I shared on this blog during this year’s fan slam.
Have you ever been at the tennis taking action photos of the players but then later you were disappointed with the results?
I know I have.
Here are the tips I found useful in trying to raise the quality of my tennis action shots.
Camera settings
- Most cameras have a number of default modes that optimise the settings for a certain type of photo like landscape, portrait etc. Usually there is an action shot mode, normally represented with an image figure in a running pose. This is the best choice for taking photos of fast moving images (tennis players).
- On most cameras selecting the action shot mode has the added benefit of deactivating the flash (which is good tennis etiquette anyway) and enabling rapid shot mode. If you press and hold the shutter button the camera will take a burst of consecutive images. The exact number will depend on your camera and settings.
- Set the image quality to high and/or image size to large as this generally means more data is obtained in each image/file, which provides more options when editing the images or printing the photo
Positioning
Unlike professional photographers, who can get the best positions around the court, a fan photographer is limited to the view from their seat. This can impose some restrictions on the photos that you can take due to:
- Not always seeing both players front on.
- Strong sunlight and shadows.
- Obstacles, such as the umpire’s chair.
- Distance from the action.
Taking these factors into account, the best results will come from taking photos of a certain part of the court where:
- the player is facing you
- there is an unhindered view
- and there isn’t a strong shadow cutting across the player.
This doesn’t mean that you won’t take good photos set in other sections of the court, but they may need editing.
Depending on the sunlight the optimal zone of the court for taking photos can change during the match and you should adjust accordingly.
Taking interesting photos
1. Face shots
From experience I’ve found that taking photos of players from behind aren’t that interesting, even though this can be tempting to do if you are seated behind the baseline.
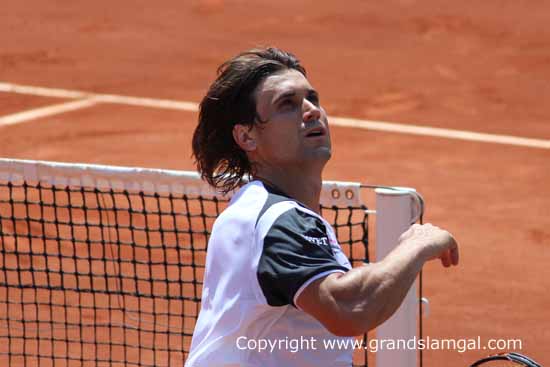
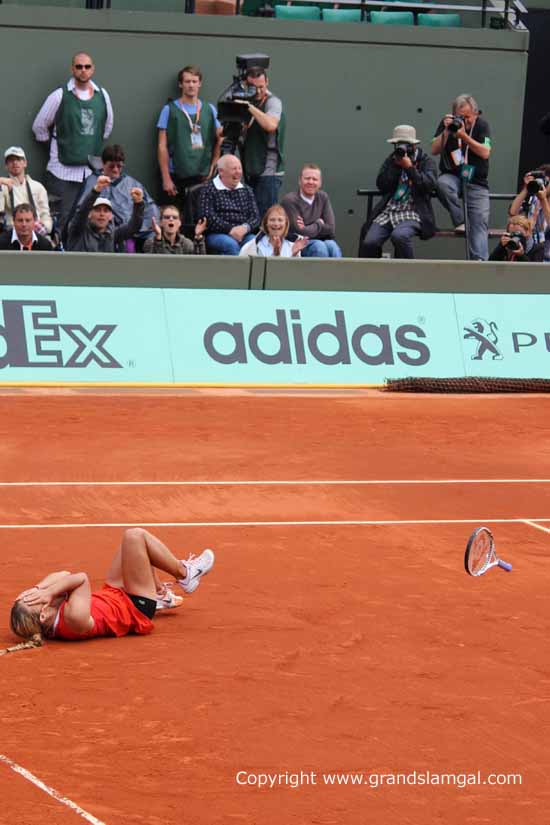
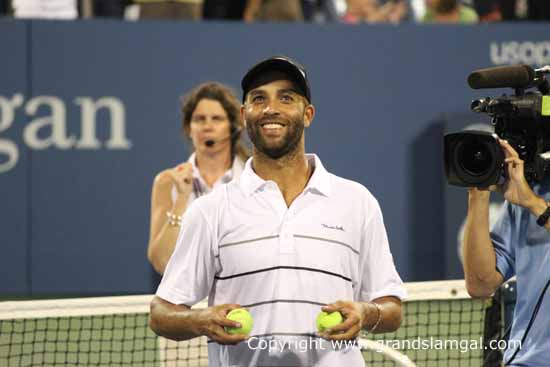
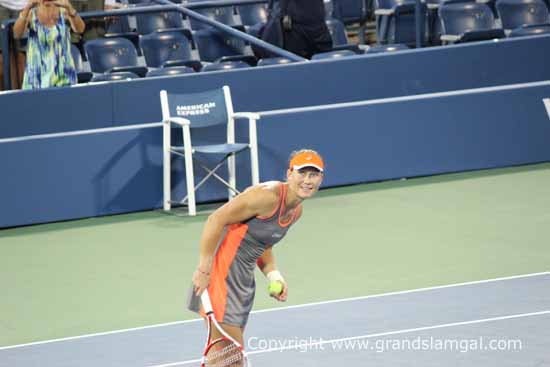
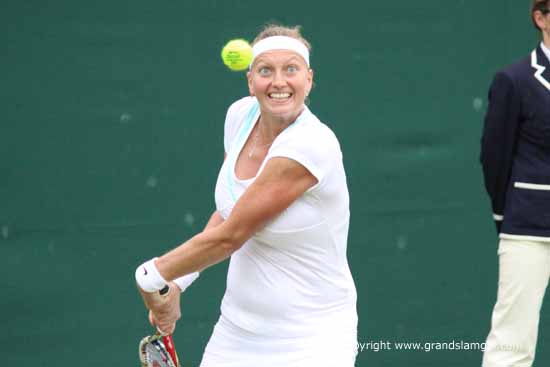
Generally getting the expression on a player’s face makes for a more interesting image, especially if you can capture them looking straight at you.
The best opportunities for this, depending on where your seat is, are:
- At the end of a point.
- When the player is getting their towel or balls.
- Start and end of a change of ends.
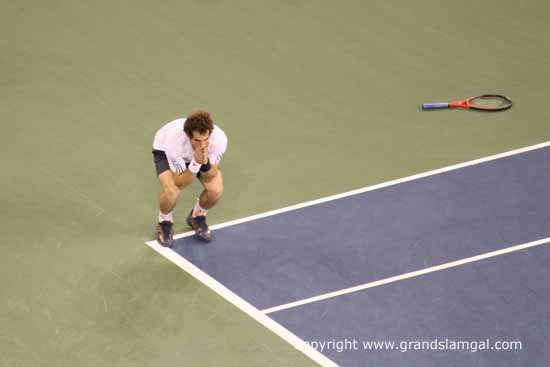
- End of the match.
To capture these shots be prepared for the situation. Observe what the selected player tends to do. Most leave their towel on the same side, request balls from a particular ballboy/ballgirl etc. Being aware of this can help you prepare for the player to walk into the shot that you want to take.
2. Action shots
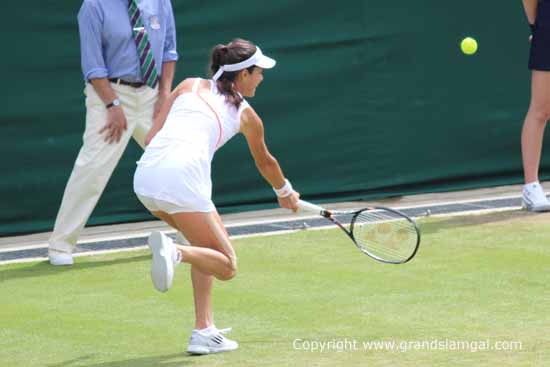
Photos where the ball is in play can be particularly rewarding to take. Personally I find shots of players hitting from behind the baseline don’t tend to capture the movement or excitement of the game. It is my preference to wait to get photos of a player running in towards the net, stretching for a shot or getting an overhead smash. Ideally with these photos the ball will be pretty near to the racket.
In practice trying to achieve this can be quite difficult. The following tips might make getting these images a bit more achievable:
- Pick one player and keep focused on this player during a point.
- Use your understanding of the game to try and anticipate what the selected player is likely to do. If you don’t anticipate the shot but wait to see it happen the photo is likely to only capture the player completing the follow through of their swing with the ball long gone.
- Take a burst of photos (activate the rapid fire mode on the camera, as mentioned above, to ensure your camera can best achieve this) when something looks like it is going to happen. Taking multiple photos increases the chance of one good image.
- Be patient. Depending on the players the ball may not be in play for long on each point. In this case you might have to wait a game or two before any interesting shots come along.
- Don’t set high expectations. If a match is featuring two big servers there might not be too many opportunities for exciting shots.
With digital cameras there is no harm in taking lots of photos. Take advantage of the change of ends breaks to review the images that you’ve taken. Delete those that don’t look interesting, are blurry, haven’t got the player looking at the camera or the ball isn’t in the shot. Where a photo hasn’t come out as expected, try to identify what could have been done differently to achieve the required image. Generally the timing of the shot is the main factor, here trying to improve your anticipation is the key. And only practice through trial and error can really change this.
3. Photos of player practice sessions
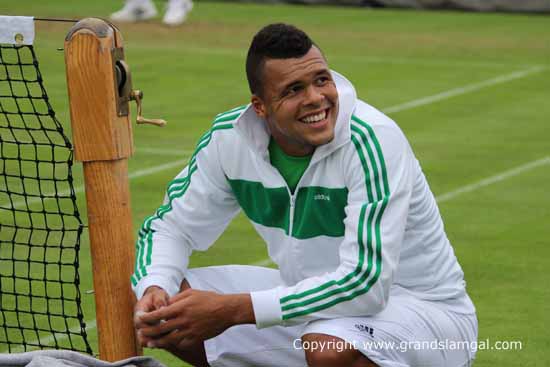
Try and see players practicing. This normally offers a better chance of getting closer to the players and being able to choose where you take your photos from. The players tend to be more relaxed in practice than in competition, increasing the chance that the player may be smiling in your photo.
Hopefully you will find these tips useful. The only way to getting better photos is to take lots, review them and then remember and reinforce the factors that worked well.


I also think you need to be really patient to take good photos at the tennis. You need to have the camera ready and watch one player closely, which means you can’t fully concentrate on the match.